Showing posts with label Crafts. Show all posts

Friday, June 17, 2011

Party Decor

The party my mom and I threw for my brother and sister-in-law to celebrate their marriage was a huge success!  Here is a photo of the happy couple at the party!  
Ward and Lisa - I love you guys! 
My mom has worked at The University of Akron for over 23 years now. When we were discussing where to have the party she had the stellar idea to have the party at the new football stadium on the Club Level!  

Here is the view of the stadium.  Isn't it magnificent?! 


I made the place cards by cutting 12x12 paper to the desired size and using my Martha Stewart Score board to fold them.  Then I stamped the boarder stamp using various inks in my ColorBox Paintbox (Pastel).  Then I stamped the cute little flowers in Memento Tuxedo Black.  The flower stamp is from Hampton Art's "We make a Great Pair" set.   To finish them I hand wrote the guests' names on the outside and the table numbers on the inside.   


That brings me to the table numbers.  My mom found a bunch of little frames in her basement that she purchased from Marc's a while ago and she gave them to me.  I didn't know what I would ever do with them... but when I was contemplating the need for table numbers at the party, I found the perfect use for them.
 Here is a sample of what the frames looked like before.  


I thought they would look awesome painted black and with the table numbers inside them.


I cut out a bunch of numbers in different colors and fonts with SCAL and the Cricut.  I also cut out some fun papers to fit inside the various sizes of frames and started assembling.  I love how they turned out!  It was a great way to use these little frames.  These are some of the finished products:


 Thanks for stopping by my blog today.  Don't forget - comments are always welcome and appreciated!  I'll be back in tomorrow with more fun stuff from this party!! :o) 


Monday, March 28, 2011

The Invitations

My mom helped me make the invitations for my brother's party.  First we printed out the info on the regular inkjet printer, then we stamped and embossed the flower.  We colored the flowers using Prismacolor pencils and then used odorless mineral spirits to blend the colors. The mineral spirits melt the pencil wax.  Here is a video where you can learn more about this technique if you are interested. 


Here is a view of the front and back:

We also printed the driving directions and made our own rsvp postcards.  While my mom and I stamped and colored, my hubby helped by assembling the invitations.  My dad supervised. :P  He was tired (as you can see he is yawning) from all the time he had spent making paper flowers - which you can see in the post below. 


Two posts in two days! I'm on a roll!! I'll be back tomorrow with some cards I made recently.  I'm off to make some centerpieces for the party - which I will share later in the week.  Have a great Monday!

Sunday, March 27, 2011

Paper Flowers

I have been super busy working on a party my mom and I are throwing for my brother and his wife.  They got married in California in December, and since our side of the family primarily resides in Ohio, we are giving them a party here in Ohio at the end of April to celebrate.  I have been working like a crazy person on the center pieces, invitations, random decorations, photo albums, etc etc etc.  Since this isn't going to be a "reception" (they had a real reception in California following the wedding) we are having a Spring themed party.  The decorations are Spring flowers and bright spring-y colors.  

We decided to make paper flowers using my digital cutter, so I purchased 27 flower svgs from SVGCuts.  Here is a close up of one of each flower I made.  I think they are beautiful!  

We need a TON of these flowers to be able to decorate all the tables at the party. So, I have enlisted the help of my father, who is very artistic, to help me assemble them all.  I am very lucky to have such a great helper! Thanks Dad! 


Each of the flowers has many parts, with some flowers having more than ten layers each!  Using an upside down mouse pad and stylus, we cupped each of the petals and center pieces.  We also inked the edges, painted and used colored pencils to get the desired effect.  


Here are some of the flowers we were able to make in a weekend.  
They take a long time, but they turned out fantastic and they were actually enjoyable to make.    


I will be posting more decorations and such for this party soon!  It is all consuming at the moment. 
I hope you enjoy the pictures and that they get you in the mood for SPRING!  


Wednesday, January 12, 2011

Christmas Cards with Papertrey Ink Stamps

I stumbled across a wonderful crafting website: http://www.papertreyink.com/.  Not only do they sell exceptionally nice stuff but they have created a wonderful community for people who use their products.  Check out their blog at http://nicholeheady.typepad.com/.   

Here are some of the Christmas cards I created using products purchased from PTI.  The stamp sets I used for these cards are: On Ice, Friendship Jar Holiday Fillers, and Big & Bold Holiday Wishes.  For these cards I used various VersaMagic Dew Drop ink pads and Copic markers.


The following cards I created using the Cricut and some stamps from Michael's Recollections stamp sets, as well as PTI's Big & Bold Holiday Wishes stamps.  In addition to VersaMagic inks, on these cards I used VersaMark Ink, Momento Dew Drops and some Perfect Pearls to add shimmer. 


Monday, January 10, 2011

Christmas Tree Place Cards

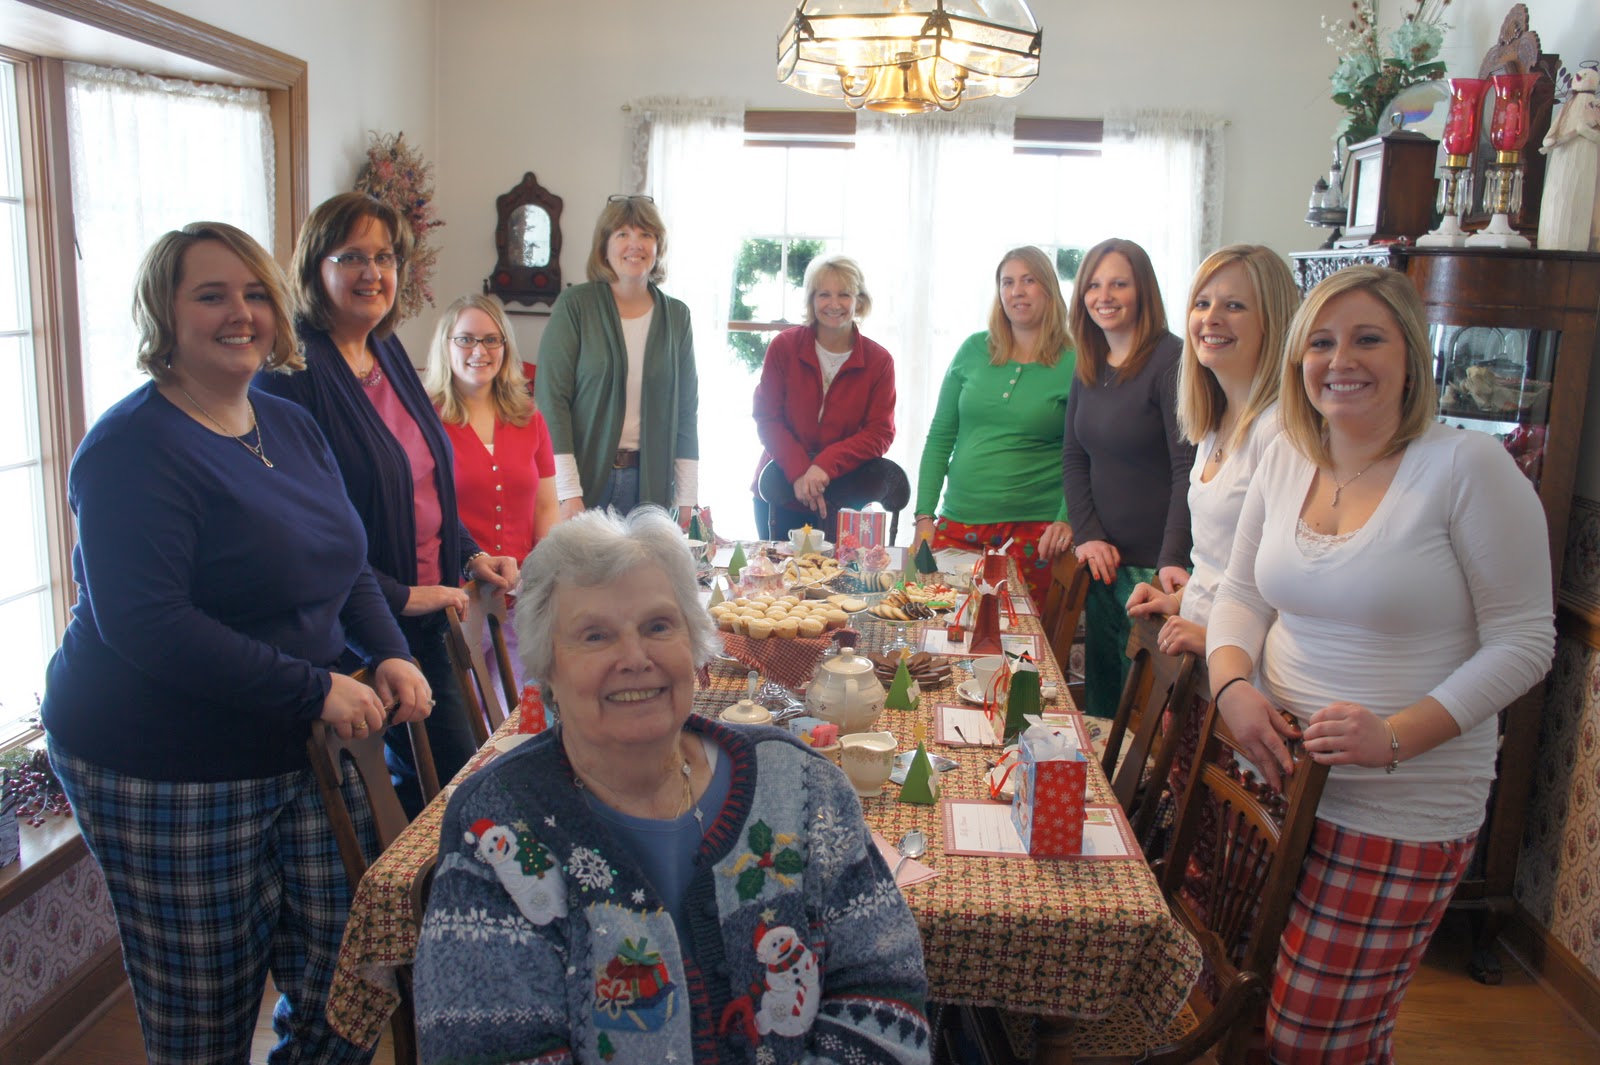
The women in my husband's family have a wonderful tradition at Christmas time... a girl's only Tea Party!  It is an event they have been doing for many years.  This year all of us "young women" (aka the daughters and daughters-in-law) were in charge of the Tea Party.  We all took the responsibility for different aspects of the party, and one of my tasks was to make the place cards.  I wanted to make something fun that everyone could take home with them. I got the idea for these Christmas Tree Place Cards from http://accucut.typepad.com/craft/2010/10/oh-my-you-need-this-die.html.
 I was not able to find any SVG files for the pyramid so I found an image of a pyramid template online and used the trace tool in SCAL to create my own SVG.  Here is the image cut out by the Cricut. 
I scored my fold lines. 
And then I folded it and glued it together.
Then I cut stars from the basic shapes in SCAL and sprayed them with some water mixed with Perfect Pearls.  I glued stars to toothpicks and stuck them into the top of the trees.  The name tags I simply printed out on my regular printer and then cut out with the Cricut.  I stamped the name cards with snowflake stamps in Versamark Ink with Perfect Pearls on top to add some shimmer. 

The Tea Party 2010


Saturday, January 8, 2011

Christmas gifts made with the Cricut

I wanted to make something special for my two young nephews and baby niece, as well as my cousin's baby, for Christmas.  After much thought I decided to make them framed name signs for their bedrooms.  I went to my local Marc's store and found these "pug" frames which I thought were the perfect size.


Since my niece's name is Violet I wanted her sign be purple and green with Violets on it.  I searched but could not find Violet stamps or stickers anywhere. So I ended up finding a picture online and using my Sure Cuts a Lot (SCAL) software to draw the flowers onto my paper through the Cricut.  I purchased gel pens made specifically for the Cricut called Cri-Kits gel pens. (http://www.cri-kits.com/cricut/cricut_pen_kits.html)  You simply remove the blade housing in the Cricut and insert the Cri-kits adapter and desired gel pen.  It is easy and gives an awesome effect! After the flowers and petals were drawn I replaced the cutting tool and had the Cricut cut out the images.
Then I colored the images with Copic markers. The colors I used for the violets were BV00, BV04, BV08, V15, V17, Y02, Y06 and YR04.  For the leaves I used YG11, YG63, and YG67.
I am a newbie when it comes to coloring with Copics.  I have watched tons of Youtube videos to learn different techniques, but I am far from experienced. I was not sure the best way to color the leaves so I experimented. 
And this is the finished project for Violet! I used some sparkly purple cardstock, as well as beautiful deep purple and fern green paper.  I used a Cri-kits glitter silver gel pen to draw the details on the letters. 

Here are the projects I did for my nephews. Again I used the Cricut to cut out their names.  Caleb's was made using various papers the DCWV Generation Tech Stack from Joann Fabrics.  
For Cayden's I created the nuts and bolts in Sure Cuts a Lot (SCAL) using the basic shapes.  The robot on the top was a stamp that I colored with copics.  The robot on the bottom I created in SCAL and I gave him googly eyes.  

Here is the final project I made.  This one was for my cousin's new baby, Madeline Marie.  Whenever I hear the name Madeline I automatically think of the children's books and cartoon Madeline, about a young French girl.  I loved watching Madeline when I was a kid!  So when I was planning Maddie's gift I could not help but give it a French theme.